Easy Diy Book Storage and Window Seat
Have a bonus room that really needs some extra storage? Learn how to make your own DIY bonus room bookshelves and window bench that fits those angled walls.
When I re-decorated my home office in the bonus room, I added a lot of storage by making built-ins out of mismatched furniture. These DIY bonus room bookshelves and window bench were the final piece of that design.
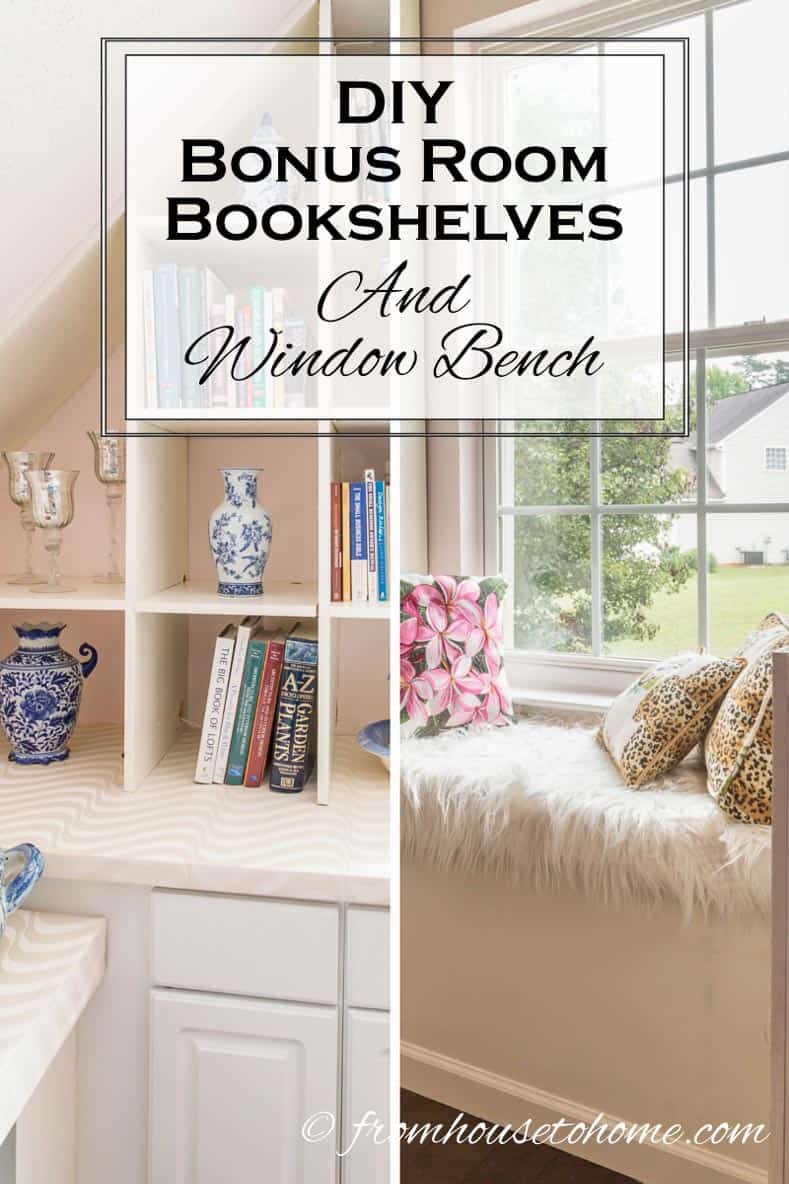
How To Build DIY Bonus Room Bookshelves
This post may contain affiliate links. We make a small commission if you buy the products from these links (at no extra cost to you). As an Amazon Associate, I earn from qualifying purchases. But we only recommend products we would use ourselves. For more information, click here to see our disclosures.
One of the big projects that I completed during my recent home office makeover was the DIY bookshelves and window bench at the end of the room.
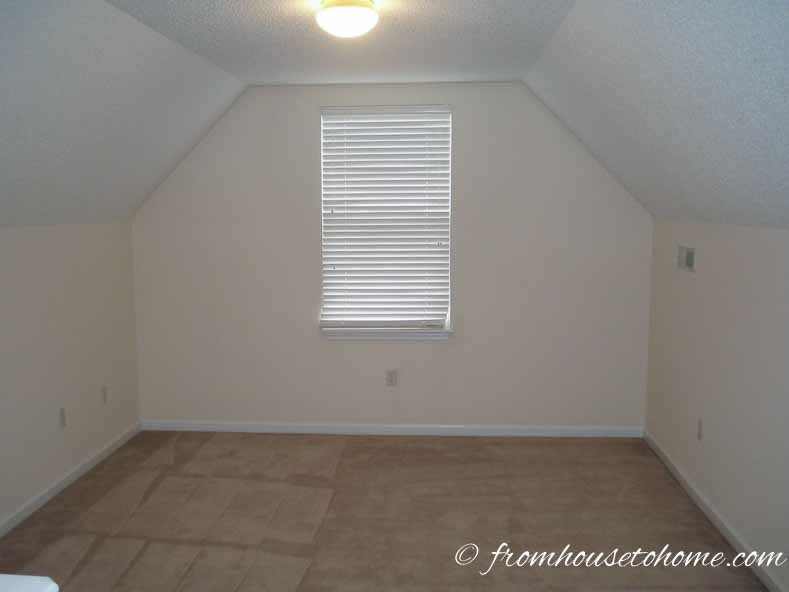
My office is in the bonus room over my garage (the only room on the second floor).
Like a lot of bonus rooms, it has angled walls that can start about 5′ up from the floor and can make furniture placement a bit tricky.
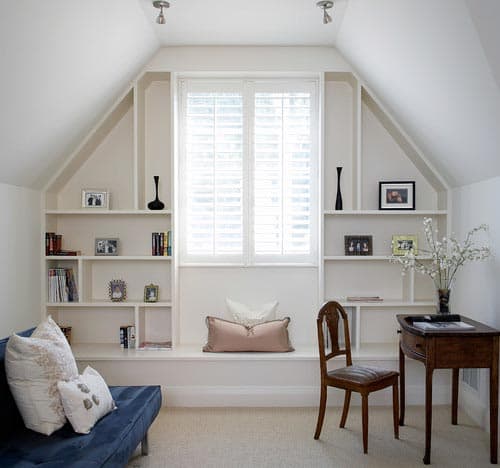
Bonus Room Shelves – Photo by Michael Abraham Architecture
Note: This picture cannot be pinned due to houzz.com copyright restrictions.
Since I needed storage and wanted some bookshelves, I figured my best bet was to make my own built-ins…something like these ones, but with more closed storage and a window bench.
However, I wasn't looking forward to building the shelves with all those angles!
Fortunately, it turned out to be not as hard as I thought it would be…so just in case you've been thinking of doing this and were put off by those angles…keep reading to learn how to make your own DIY bonus room bookshelves and window bench.
What You Need
Materials
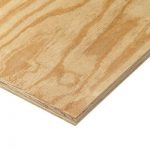
4 – 3/4″ x 4′ x 8′ MDF Boards, each cut into 9 – 18″ x 96″ strips, 1 – 20″ x 96″ strip (if your window bench is wider than 48″, you will need 2 20″ strips). You can have these cuts made at the hardware store before you bring them home…which makes them easier to transport and means less cutting for you later!
Paint and primer for the shelves.
Tools



![]()
Prep The Wall And Wood
As with most construction projects the first step to installing these DIY built-in bookshelves is some prep work.
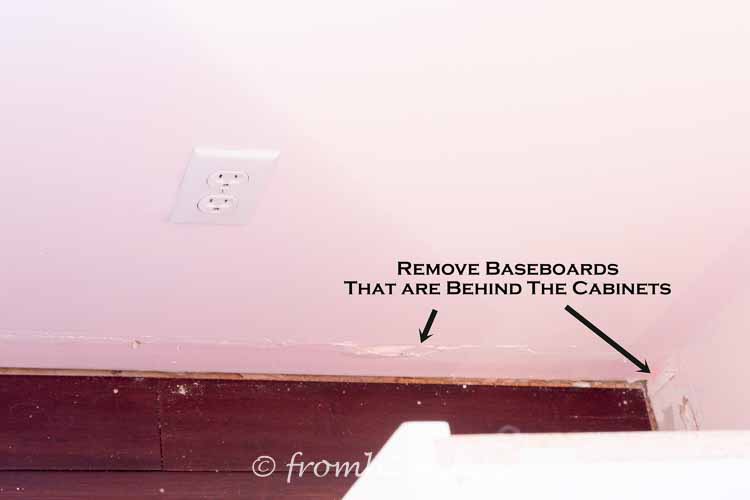
1. To make the shelves fit flat against the wall, remove the baseboards from the wall where the shelves will go.
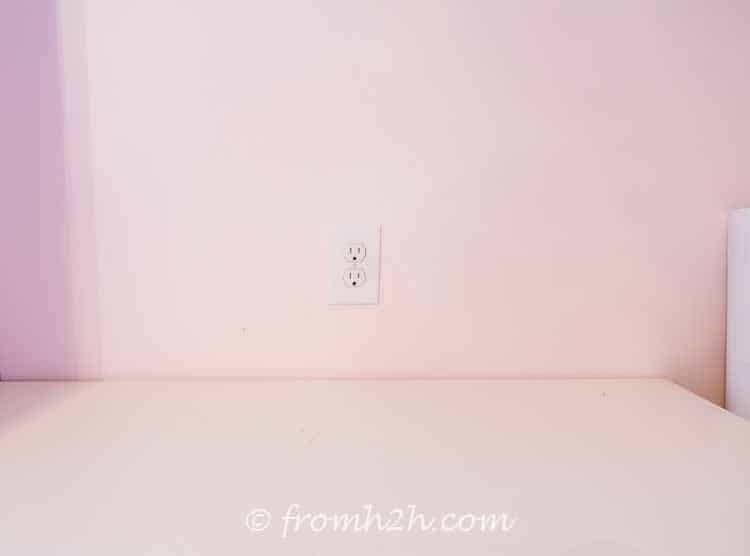
2. Move any electrical outlets to a position that you will still be able to get to after the shelves are installed.
3. Prime the wood and do the first coat of paint on the shelving wood before you put the shelves together. It is much easier to paint them now than it is once they are installed.
Install Base Cabinets
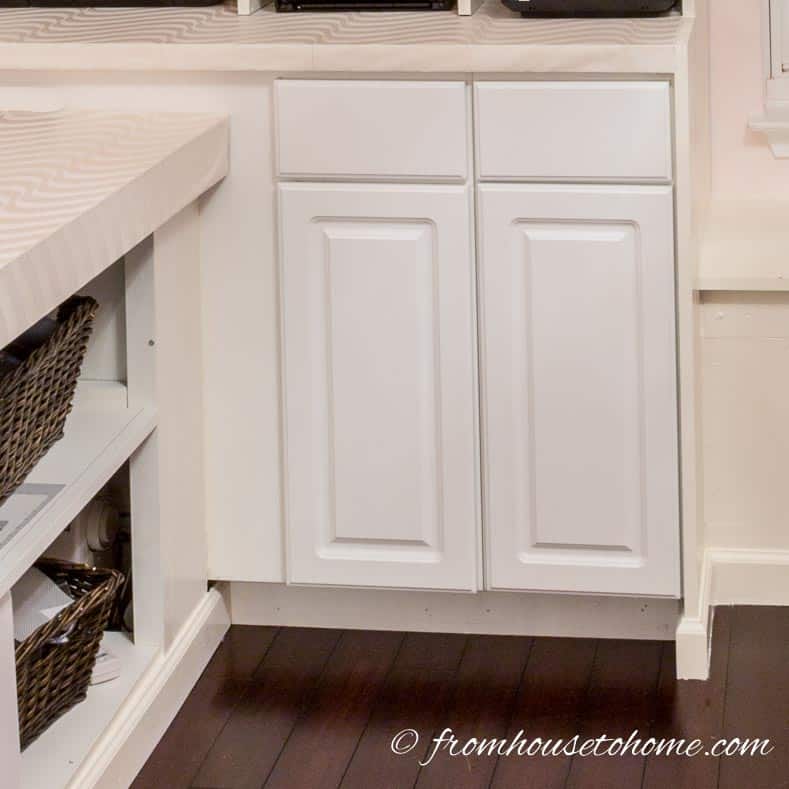
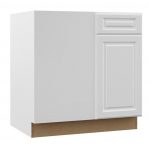
To add some closed storage on the bottom of the shelves, I used a base kitchen cabinet* on one side and a Martha Stewart craft room cabinet on the other side.
They provide a lot of storage and take a lot of the work out of building the shelves.
1. Measure the space on either side of the window and get base cabinets that will fit. In my case, the space was 48″ wide.
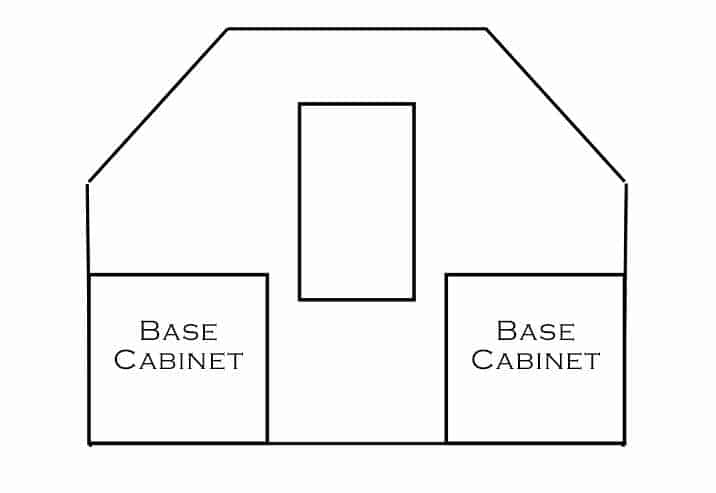
2. Move in the base cabinets and position them where you want them to go.
3. Install a counter top (if the cabinets don't already have one). If you want to make your own, see our post on how to create built ins from mismatched furniture for the instructions on how to build it.
Figure Out The Angle
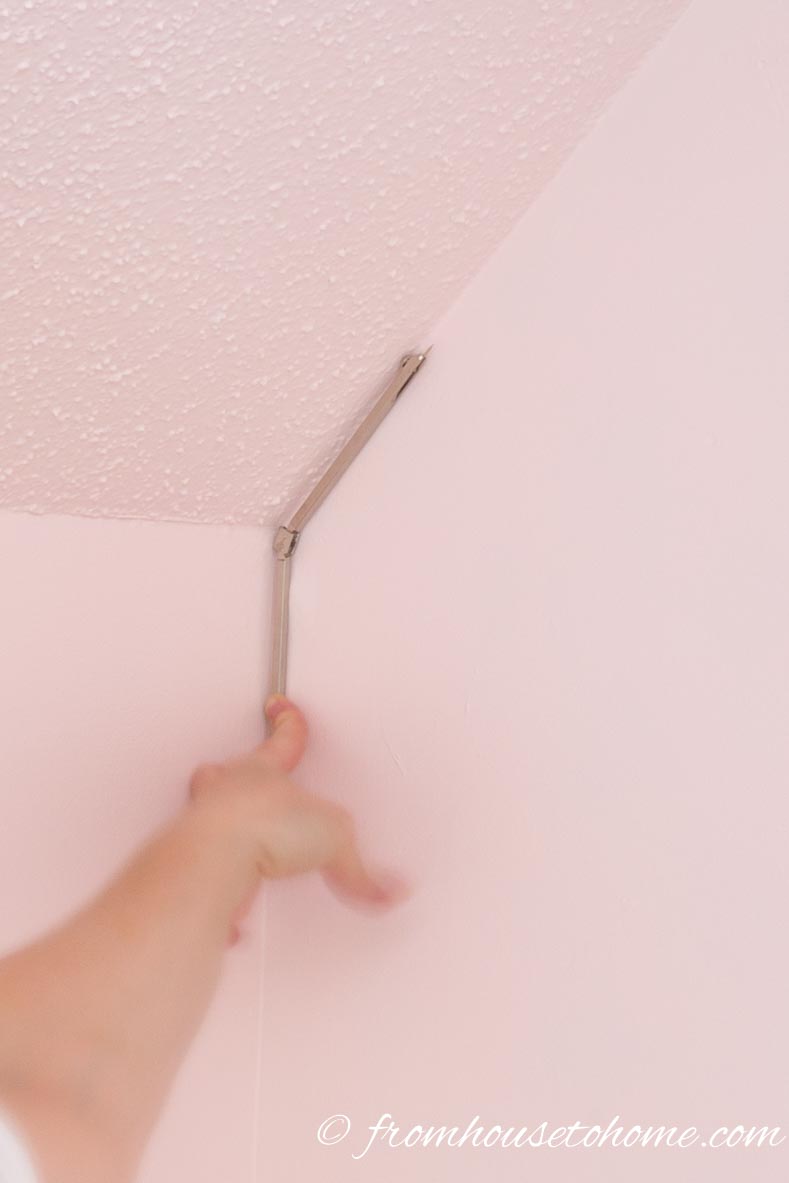
To make the shelves fit onto the wall, you will need to cut some of them with angled ends that match the angle of the wall.
The good news is that once you figure out what the angle is, all of the boards that need to be cut on the angle should use the same one. To make this easy, you'll need a couple of those tools that you used in geometry class…
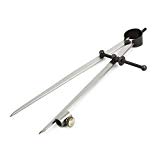
1. To determine what the angle is, hold a compass up to the wall and move the arms so that they match the angle between the vertical wall and angled portion of the wall.
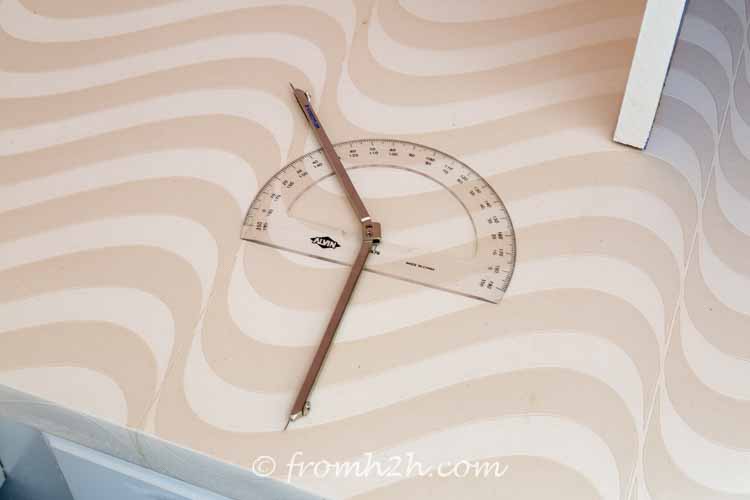
2. Line one of the hands up with the center mark of a protractor.
3. Look at what angle the other arm of the compass falls on. In my case it was 50°…so all of the boards that required angled ends had to be cut at a 50° angle.
Build The DIY Bonus Room Bookshelves Frame
Step 1: Install Uprights
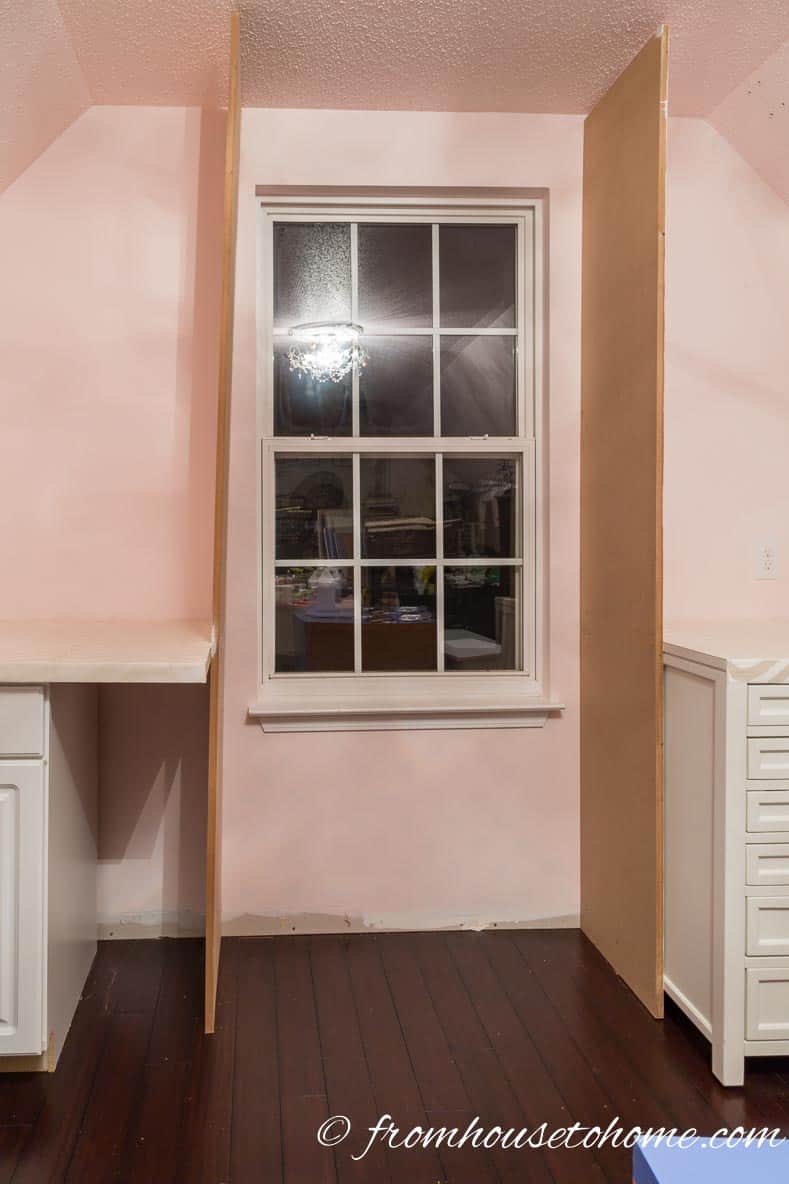
Install the floor to ceiling vertical shelf boards on either side of the window.
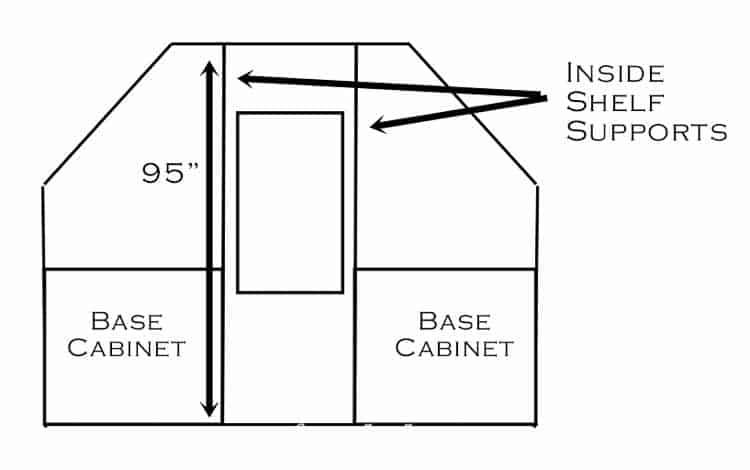
- If you have standard ceiling heights, these boards will need to be about 95″ long…leave enough space for the top board to fit over them plus a little wiggle run (especially if you have popcorn ceilings like I do).
- Screw the boards to the sides of the base cabinets to keep them in place.
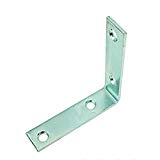
- Add an angle bracket at the top of each board (which will be used to support the top board).
Step 2: Install the Top
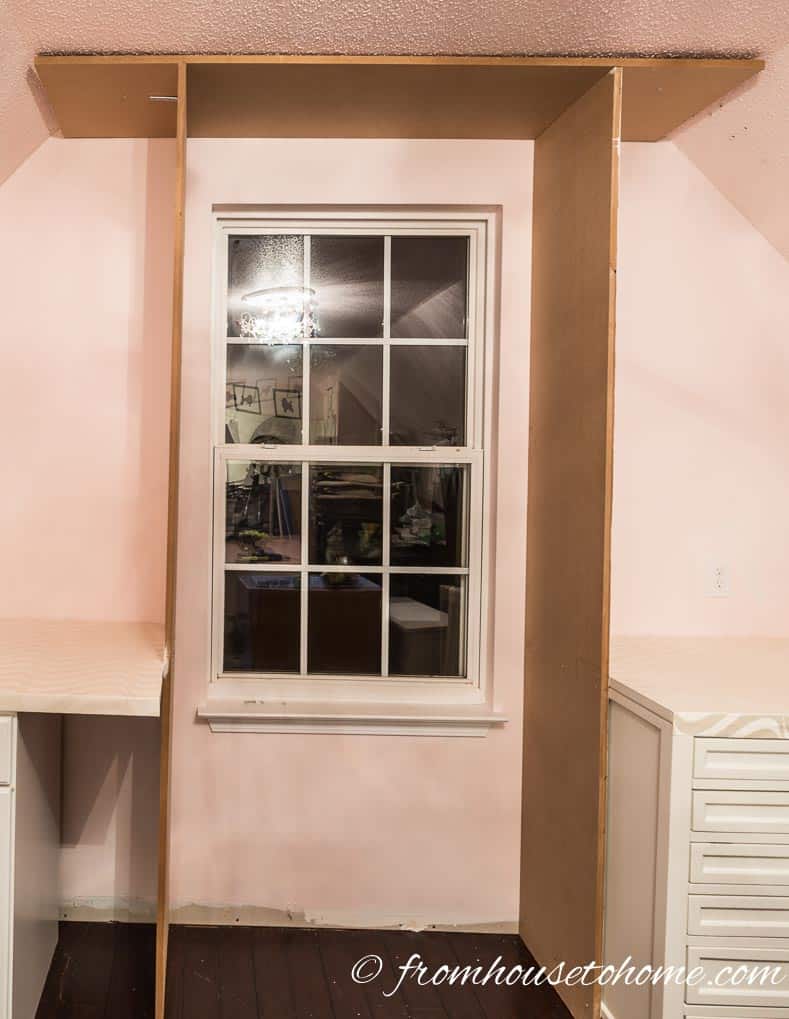
Install the top shelf across the vertical boards you just installed.
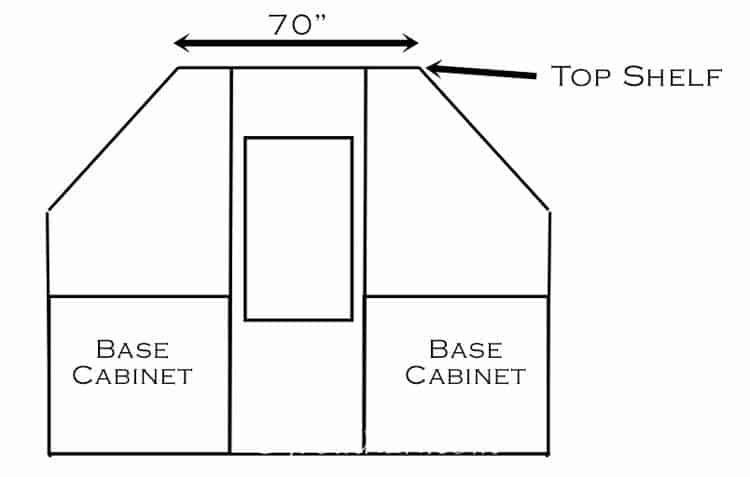
- You will need to measure the length of the flat part of the ceiling to determine the length of this board.
- Fit the board over the top of the floor to ceiling shelf supports.
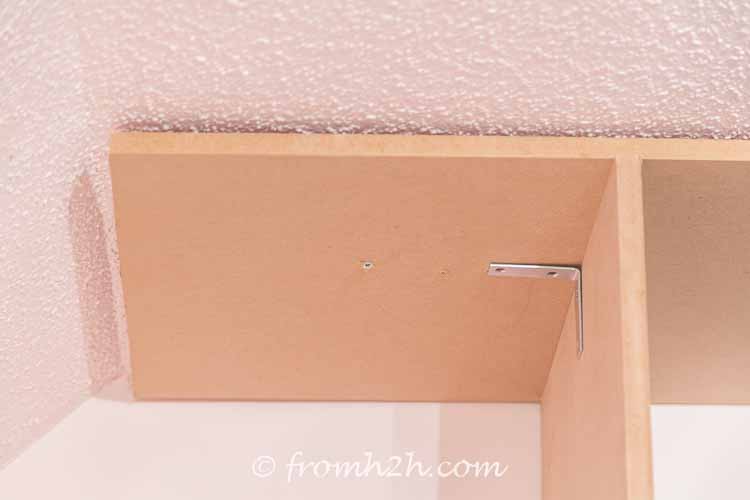
- The angle iron brackets at the top of the side supports will help to support this board and keep it straight.
- Use a few screws to attach the board to the ceiling
Step 3: Install Vertical Supports
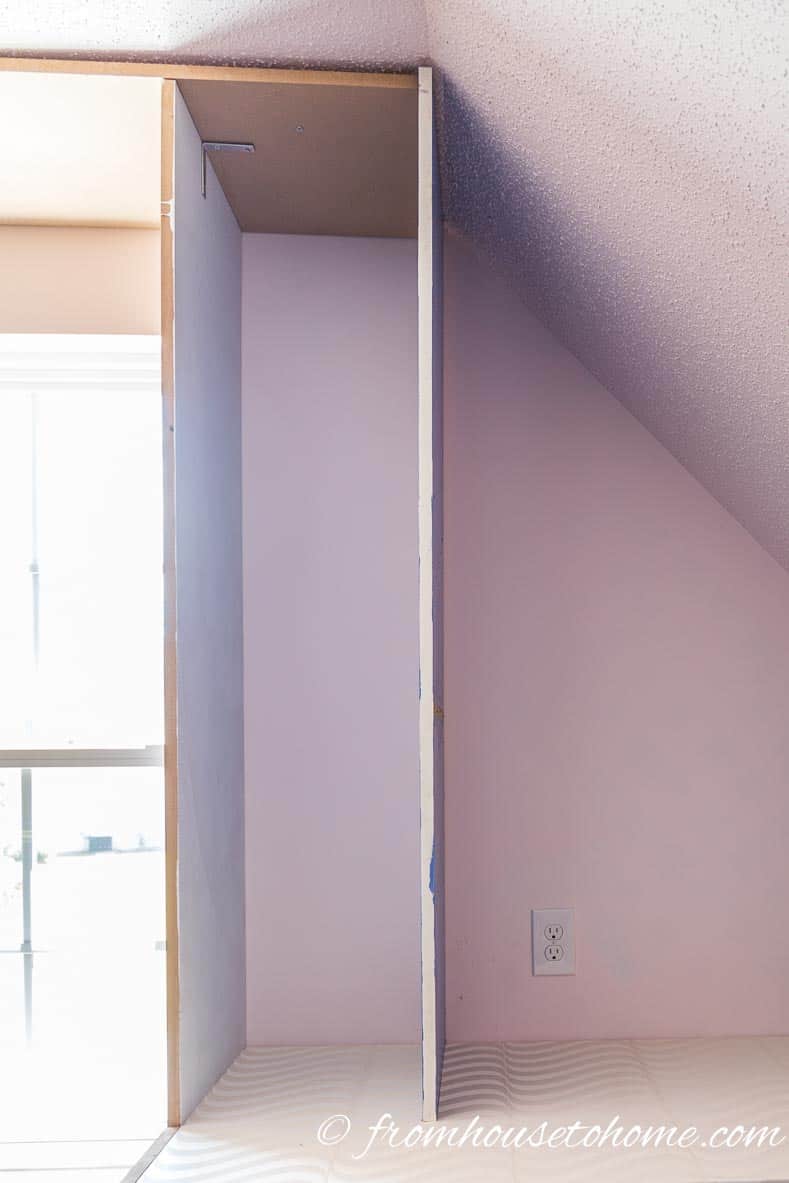
Install the second vertical shelf support.
Ignore all of the different colored pieces of wood in my pictures…I re-used a lot of these shelves from another shelving project that I had taken apart
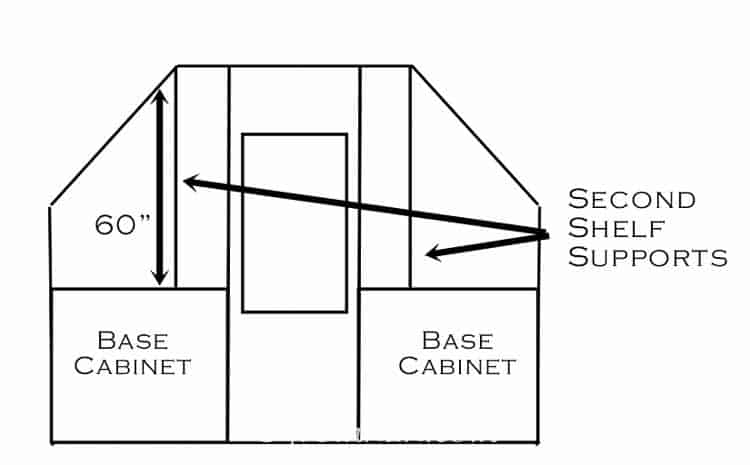
- This is the one that will meet the top shelf where the ceiling starts to angle.
- If you have 8′ ceilings and your base cabinets are 3′ high, this board should be cut to about 60″ long.
Step 4: Install Wall Shelf Supports
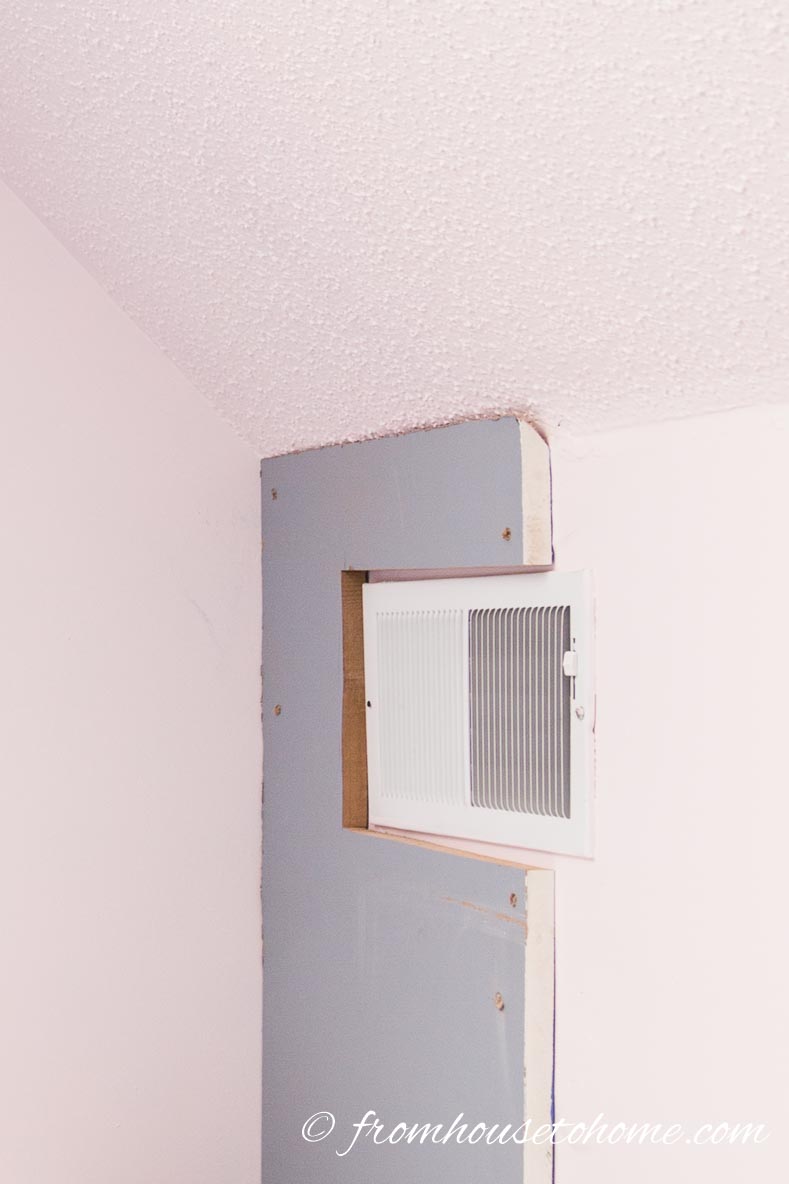
Install the shelf support on the side wall.
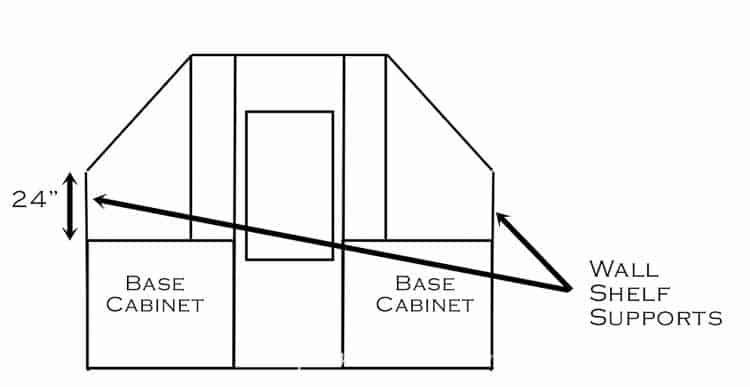
- You will need to measure from the top of the base cabinet to the top of the wall to determine the length of this board.
- The top end of this board will need to be cut on the angle to match the wall. The measurement you took will be the shorter length of board.
- If there are any electrical outlets or heat vents in the way, you will probably want to cut the board to expose them. If you need help with this, click here to get some help with electrical outlets and click here for help with heat vents.
- Install it by screwing it to the wall.
Step 5: Install Top Along the Angled Ceiling
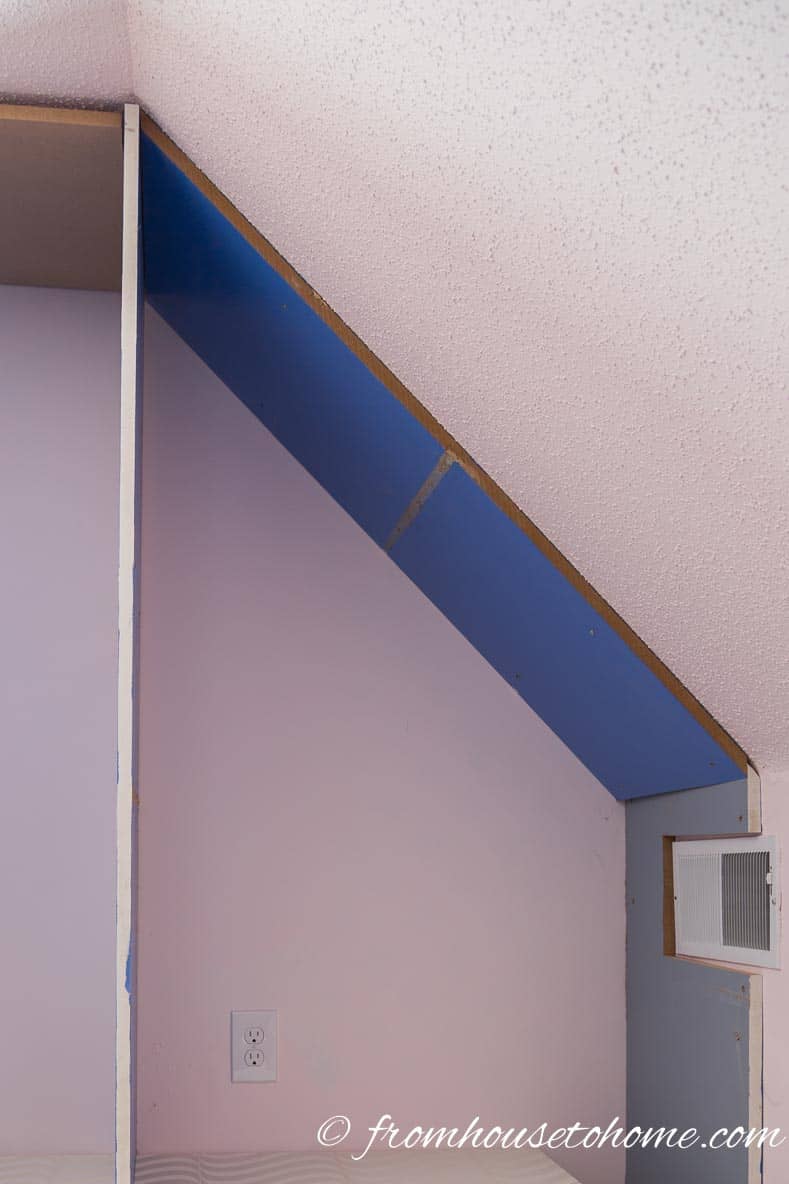
Install the shelf across the top of the angled wall.
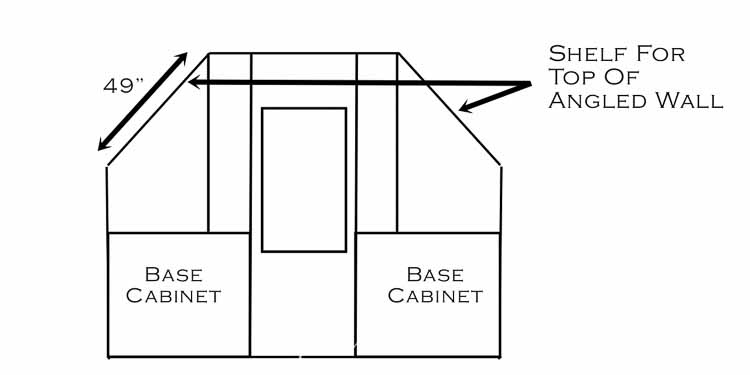
- Measure the length of the angled wall to determine how long this board will need to be.
- The board will need to have angles cut on both ends. The angles should go in the same direction (so that both sides of the board are the same length).
- Line this board up so that the ends meet the top of the second shelf support and the wall shell support.
- Install this board by screwing it to the ceiling.
Step 6: Install Angled Ceiling Vertical Supports
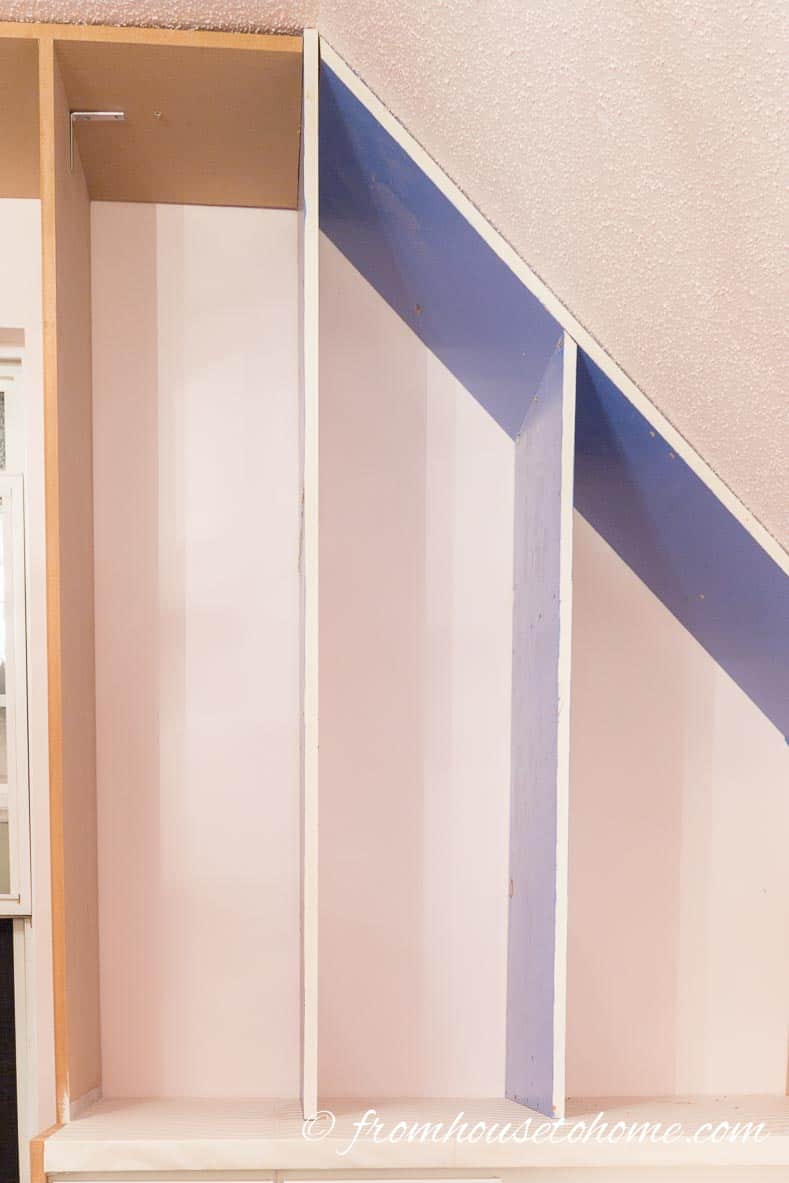
Install the middle shelf support(s).
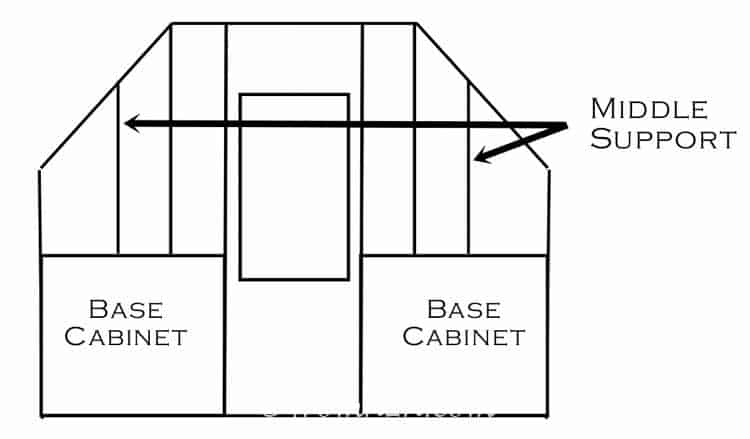
- First you will need to figure out where you want these supports to go. If you want to make square shelves like I did, measure how wide the first shelf space is. Then repeat that same measurement from the second vertical board to determine where the second support should go. In my case, it was 13½".
- You will need to measure from the base cabinet to the top board at that spot.
- The top of this board will also need to be cut at an angle.
- Screw through the top of this board into the top board to keep it in place.
- Depending on how wide your wall is, you may want to put in another one of these middle shelf supports. ¾" wood can span about 3′ without supports before it starts to sag in the middle…and if you plan on putting anything heavy on it (like books), you will probably want to make the span less than that.
Step 7: Finish The Sides
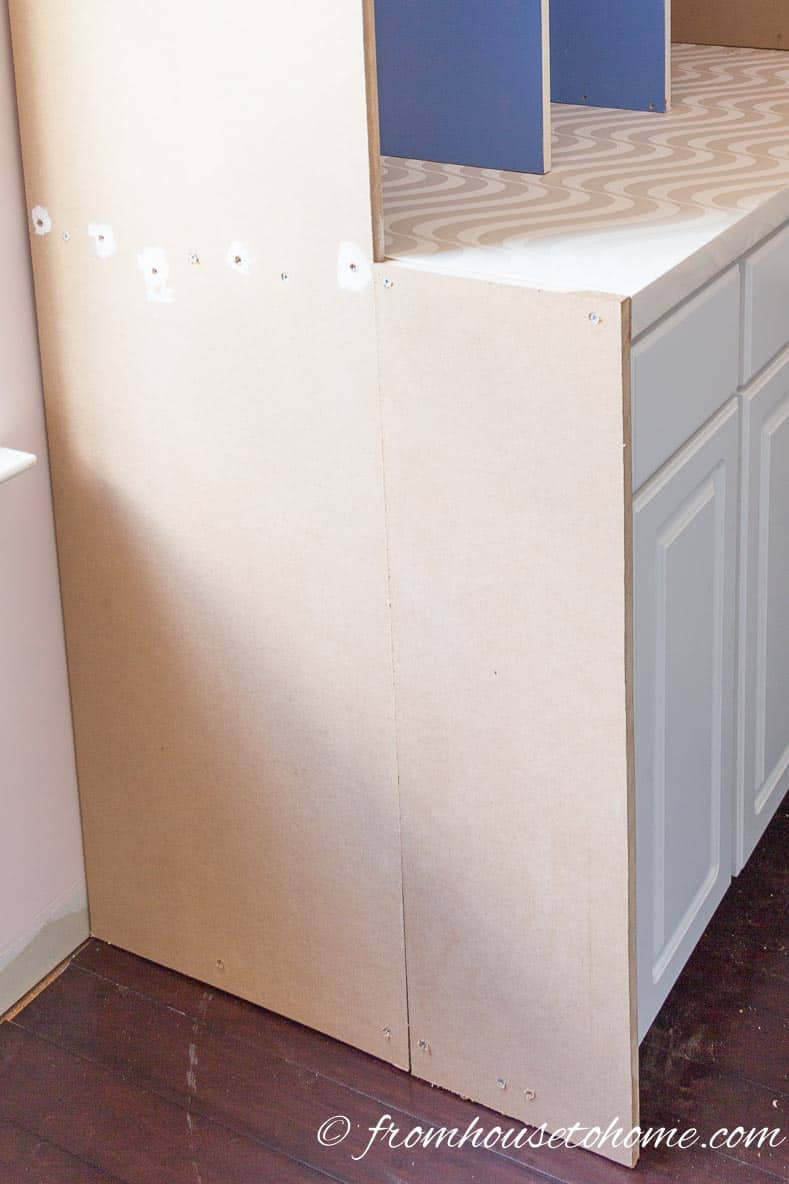
Finish the ends of the base cabinets.
- Measure the space between the outside edge of the shelf upright that is attached to the base cabinet and the front of the base cabinet. If you are using 24″ cabinets, this should be about 6″.
- Measure the height of the base cabinet. If you are using standard kitchen cabinets, this should be about 36″.
- Cut 2 pieces of ¾" MDF board to fit this space (6″ x 36″ in our example)
- Screw these boards to the sides of the base cabinets so that the ends are finished on both sides.
Install The Shelves
The Prep Work
1. Measure the width of each of the vertical sections in your shelving unit.
2. Decide how many shelves you want for each vertical shelving section. If you want the square cubby hole look, you will want the height of each space to be the same as the width of the shelves.
3. Cut the boards for the shelves.
Install The Fixed Shelves
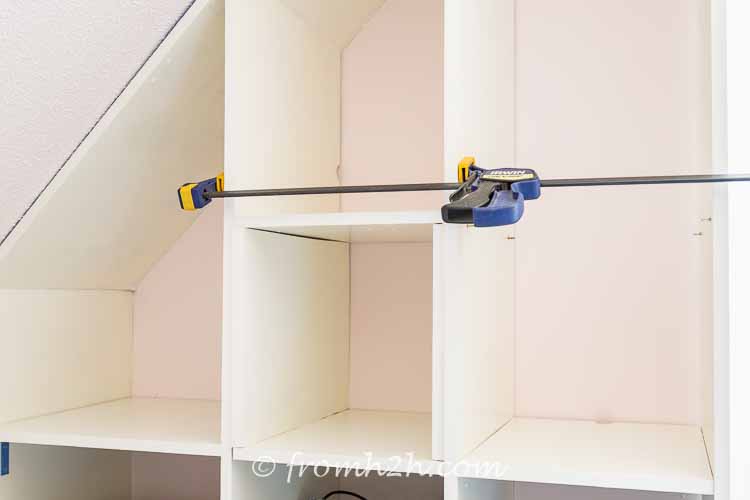
4. Each vertical shelf section should have at least one fixed shelf. This helps to keep the uprights straight and sturdy. There are 2 ways you can install these fixed shelves:
a. Attach them to the side boards with screws that go through the side walls into the shelf board. For maximum strength, you'll need to put 3 screws on each side of the shelf (front, middle and back).
b. Use angle brackets that attach to both the side boards and the underside of the shelves. You'll need 4 of these, two on each side of the shelf (front and back).
- In both cases, using a clamp to hold the shelf and sides together will make it easier to get it installed in the right location.
- Also, using spacer boards underneath the shelf will make sure it is at the right height. If you're doing squares, you can use other shelves as the spacer boards, which will make sure each section of the shelf is actually square.
Install Move-able Shelves
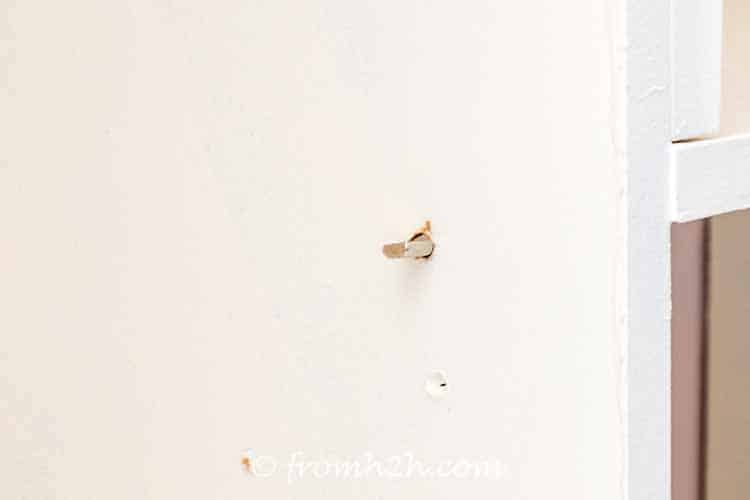
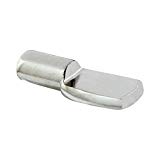
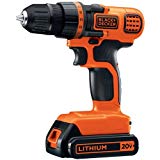
5. For the rest of the shelves, you can drill holes and use shelf pins to position the shelves. If you know where you want the shelves to go, you can just drill the holes where you need them. If you want to have adjustable shelves, drill a row of holes. You'll need 4 holes per shelf, 2 on each side close to the front and the back of the shelf.
A couple of hints to make this process easier:
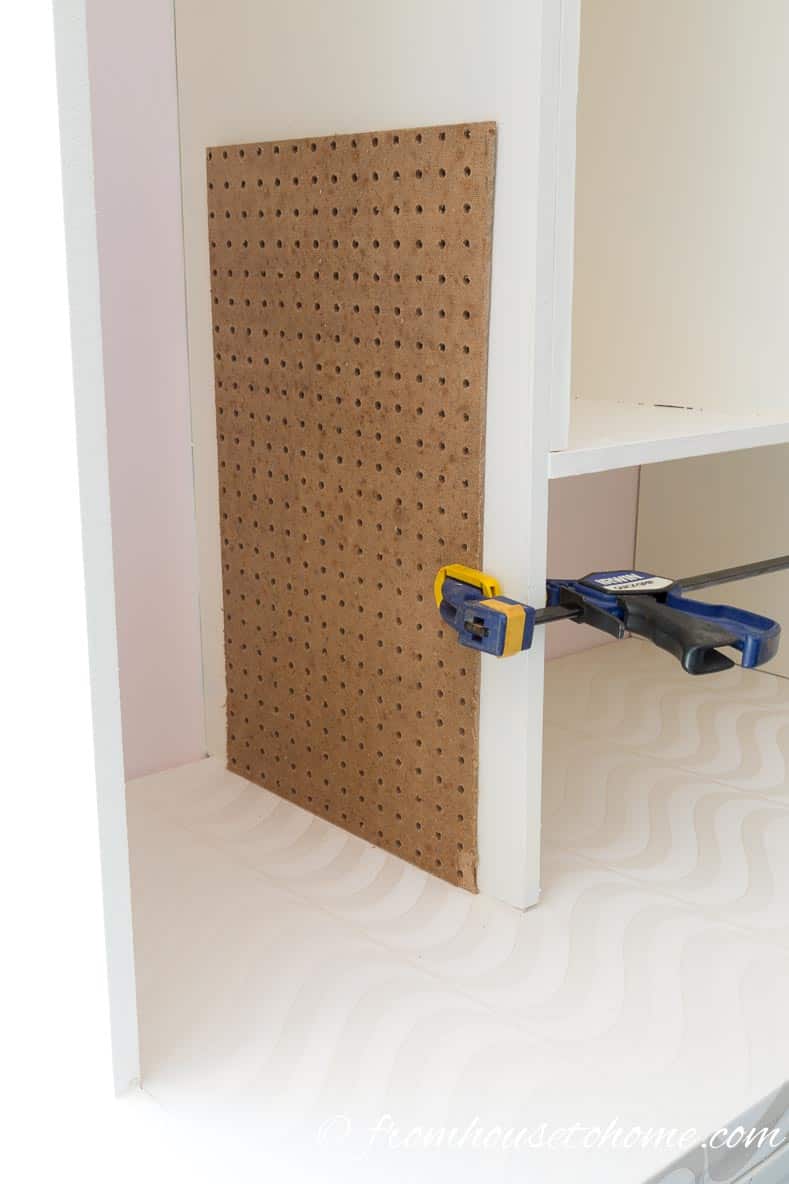
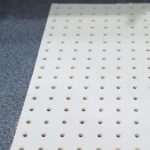
- Use a piece of pegboard to get all of the holes drilled at the same height.
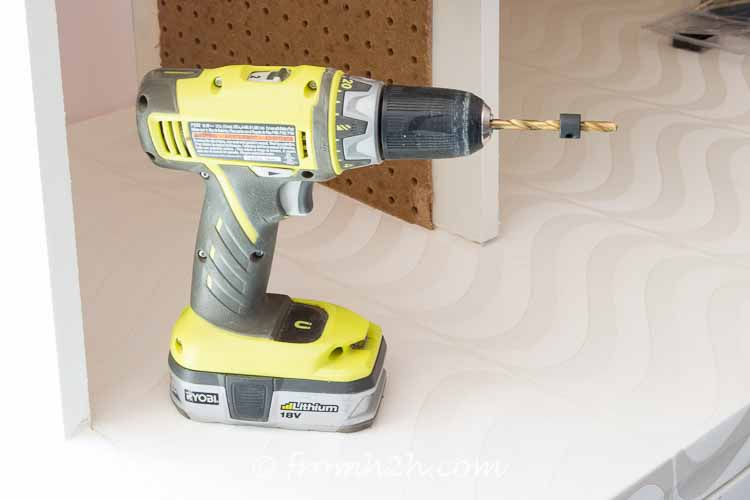
- Add a drill stop to your drill bit to prevent the holes from going all the way through the boards.
Build The Window Bench
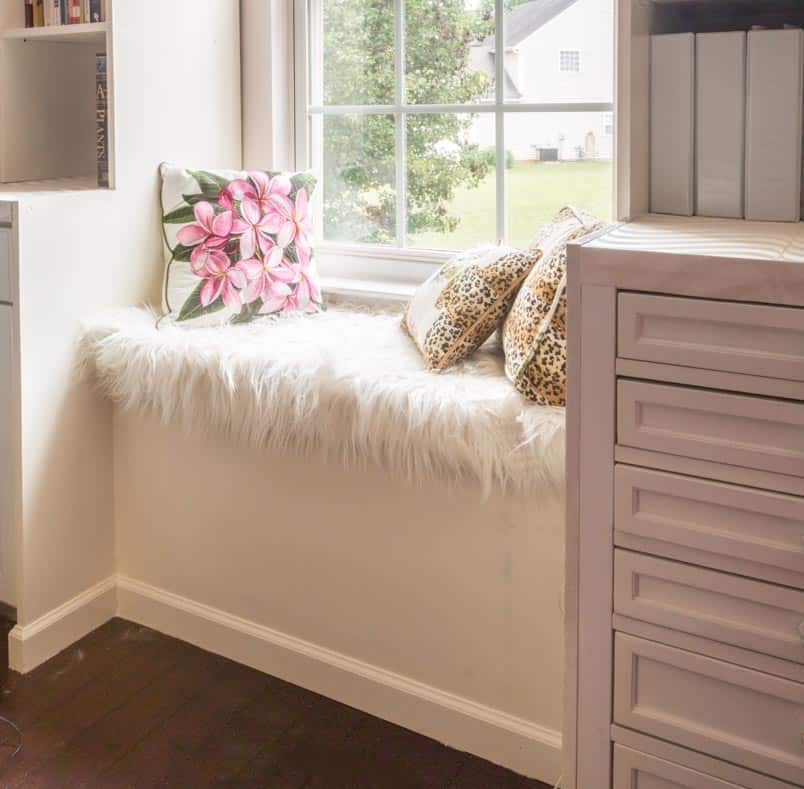
Measure and Cut Wood For The Window Bench
1. Measure the width of the space between your two shelving units. This will be the width of the bench.
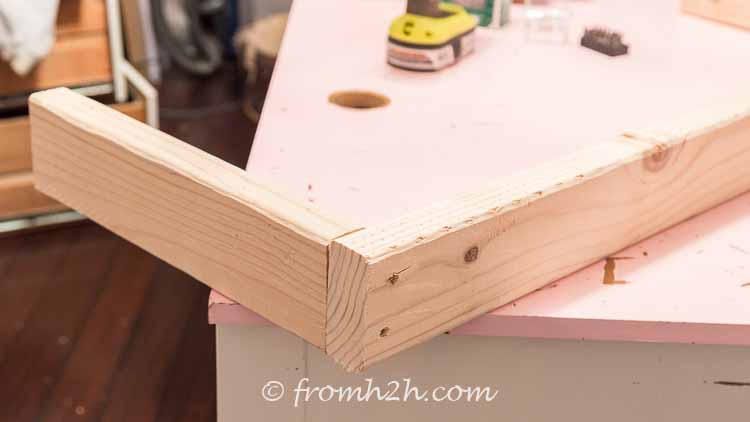
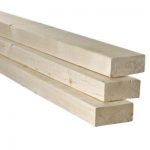
2. Make a rectangular frame for the top of the bench out of 4 – 2″ x 4″ boards.
- 2 of the boards will be the width of the bench from step 1.
- 2 of the boards will be 16″ long
- Butt the ends of the short boards to the end of the longer boards and screw them together
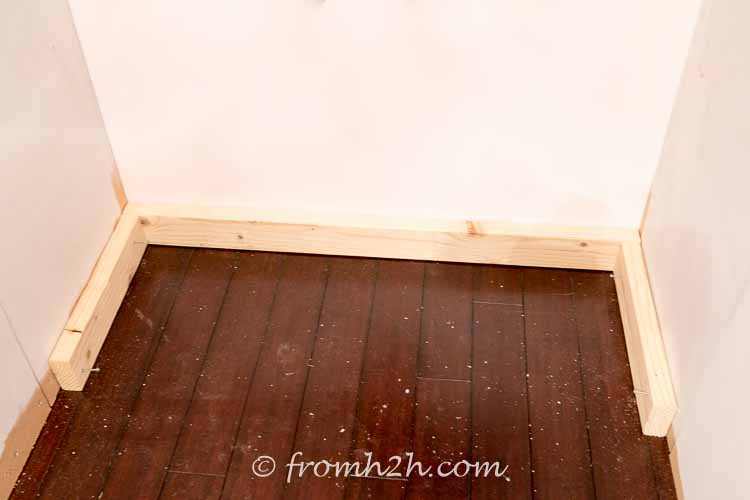
- I like to test out the frame to make sure it fits before I finish putting everything together
3. Make a support frame for the front of the bench out of 3 – 2″ x 4″ boards
- 1 of the boards will be the width of the bench from step 1.
- 2 of the boards will be 16″ long.
- Attach the short boards to the longer board as you did above.
4. Cut the top and front of the bench.
- Cut 2 20″ wide MDF board to the same length as your measurement from step 1.
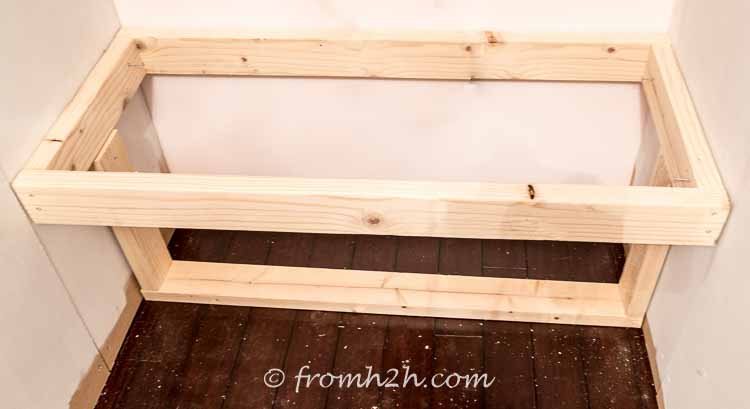
Install The Window Bench Frame
5. Install the top frame of the bench using your support frame to hold it in place.
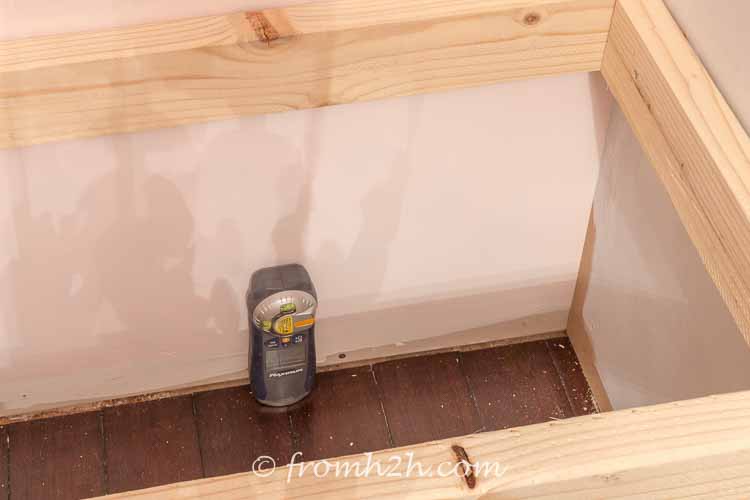
- Use a stud finder to find where the wall studs are
- Then use 3½" screws to attach the back of the frame into those studs
- Use 2½" screws to attach the sides of the frame to the your shelf side supports.
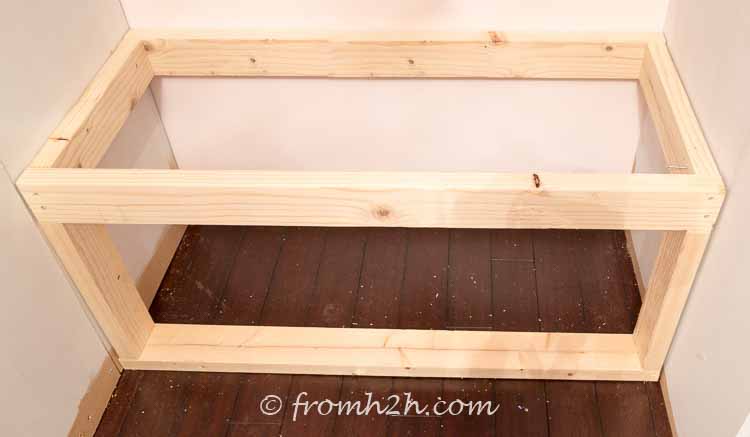
6. Attach the bench front support
- Move your bench support so that it lines up with the front of the bench frame.
- Attach it to the sides of the shelves using 2½" screws
- (optional) Toe-nail the top of the bench frame to the support by screwing through the top boards on an angle. Note: This step is just adding some extra stability to the frame, but isn't 100% necessary since the frame will be attached to the front board of the bench.
Attach The Top and Sides
7. Screw the front board of the bench to all sides of the front frame.
8. If you are not worried about having storage in the bench, attach the bench top to the top of the frame on all sides. Note that the top should overhang the front by about 1″.
9. If you want to be able to store things in your bench, you can make the top lift up by doing the following:
- cut off a 1½" strip along the long side of the top board (this should be the same length and width as the frame board at the back of the bench).
- Attach a piano hinge along the side edges of the board you just cut, so that the two pieces will lay flat beside each other when closed.
- Screw the 1½" strip to the frame board at the back of the bench.
The Finishing Touches
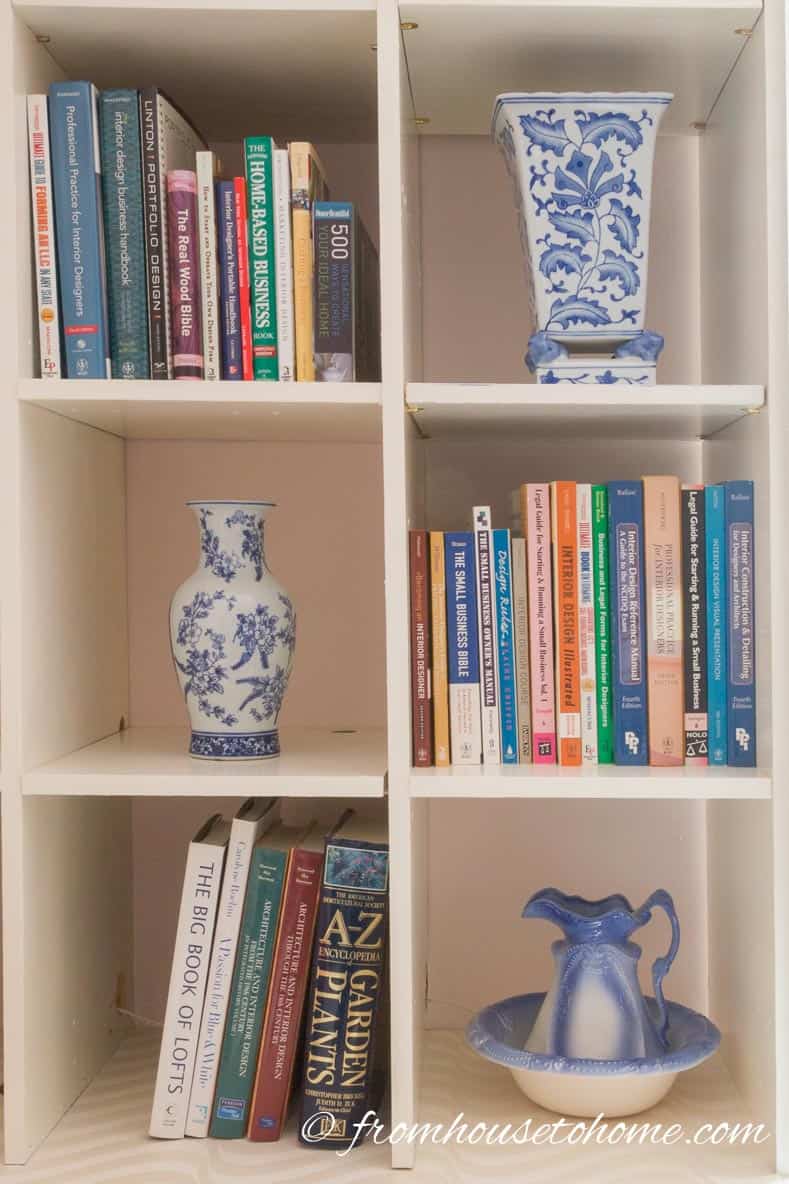
There are a few more touches that will make the shelves look much more finished:
1. Add baseboards around the bottom of your shelving unit for a more built-in look.
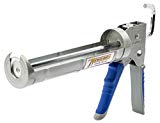
2. Use caulk to fill in any gaps around the edges of the shelves and window bench (as well as any screw holes)
3. Give the whole unit one last coat of paint. Make sure to cover any angle brackets so that you can't see them too much.
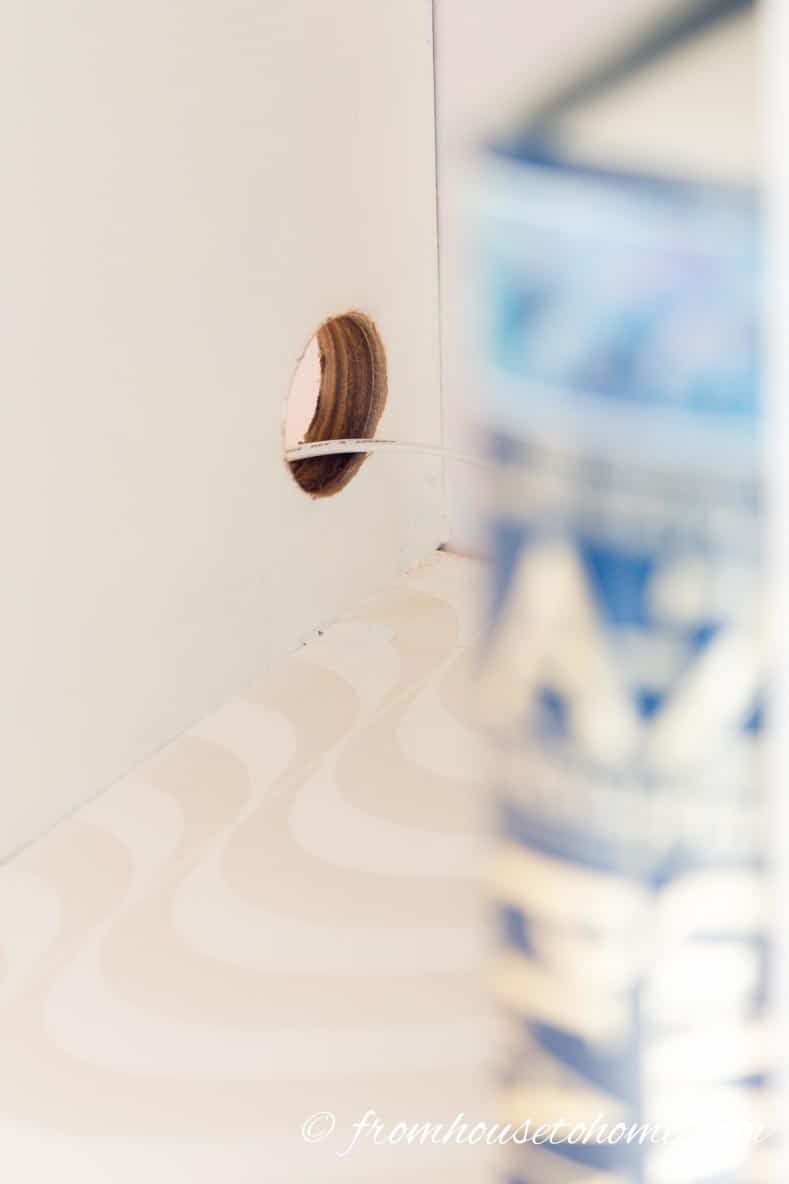
4. If you are going to run electrical cords through your shelves, drill holes in the back of the shelves to let the cords through.
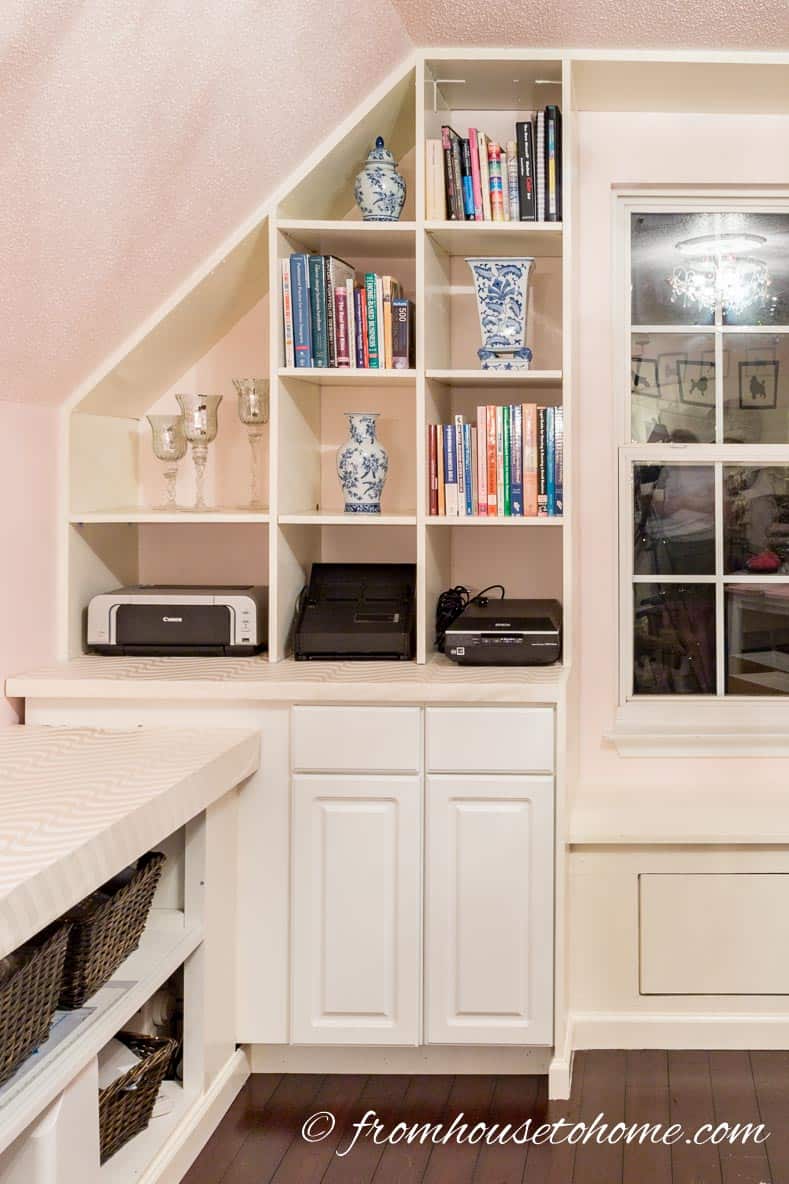
5. Fill up your shelves with books and accessories.
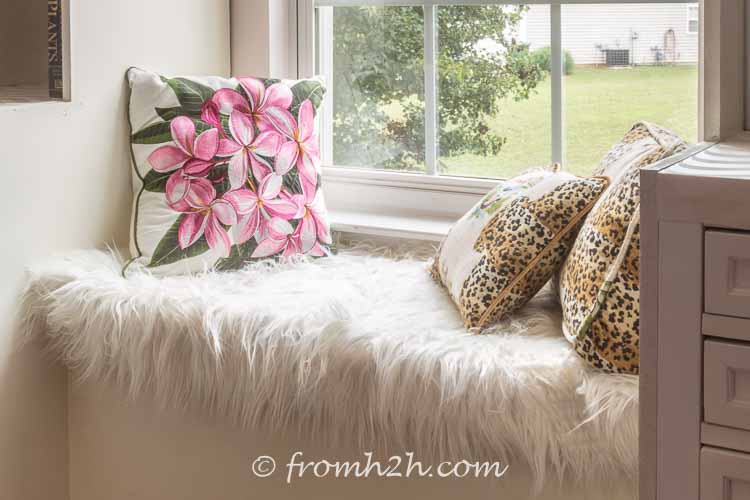
5. Add some cushions to your bench and you are done!
The Finished Shelves
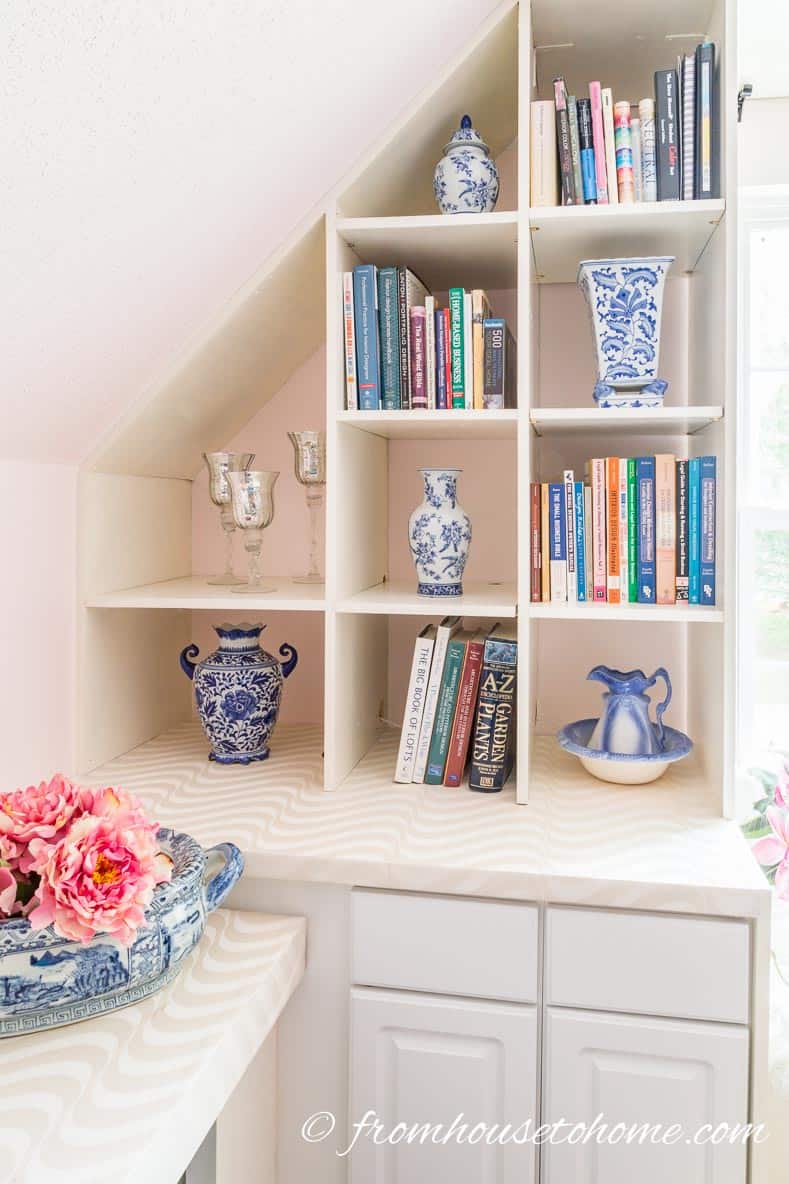
The finished shelves provide lots of storage!
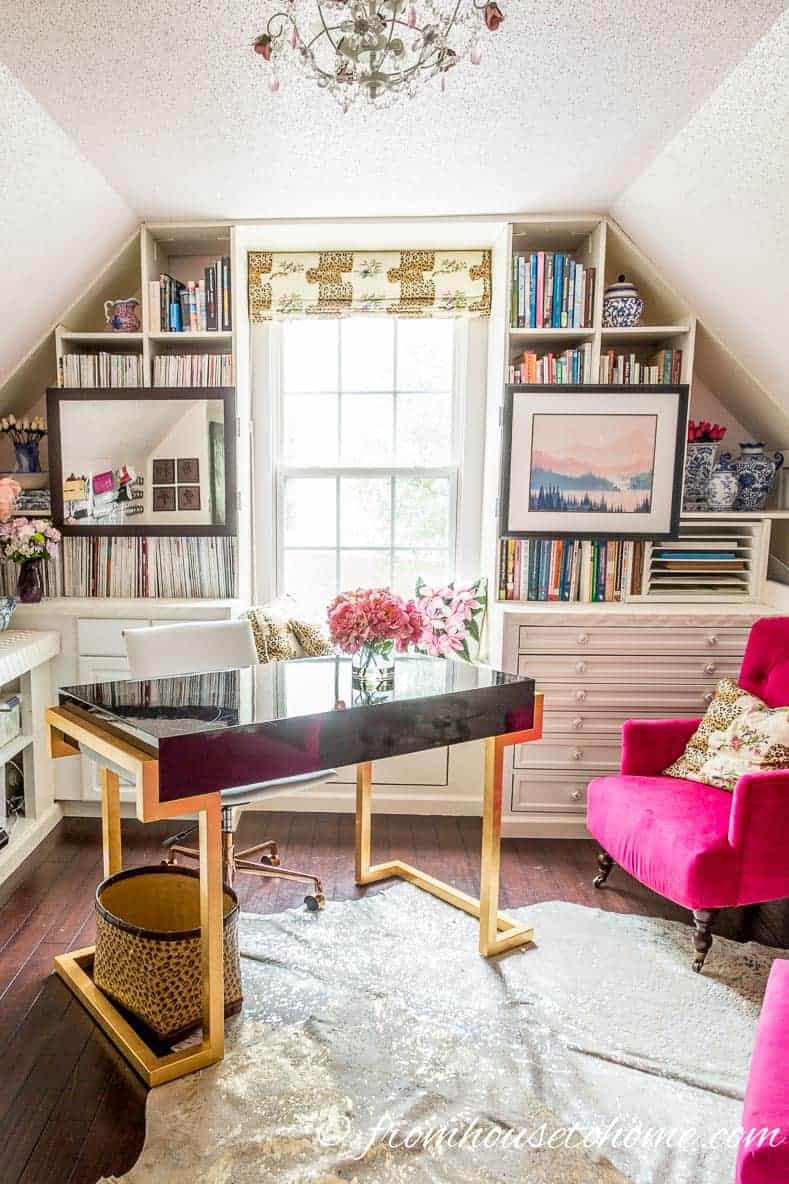
Because they are on the end wall of a long narrow room, they help to make the room look less like a bowling alley.
I ended up adding the picture and mirror over the front of the shelves to give more hidden storage. They are on hinges so I can get to the shelves behind them very easily. You can find out how to hang art on shelves here.
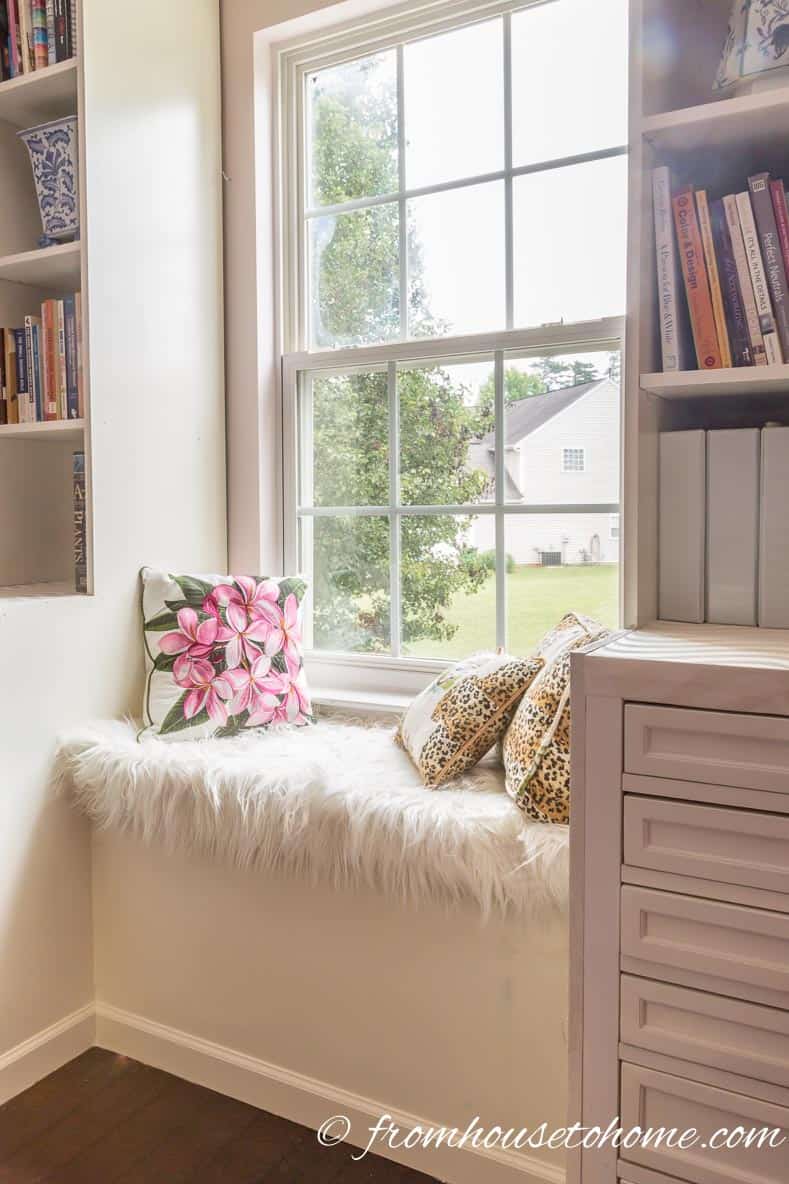
And the window bench is the perfect spot to sit and look out the window.
Have comments or questions about our DIY bonus room bookshelves and window bench? Tell us in the section below.
This post was originally published on June 6, 2016 but was updated with new content on January 8, 2022.
Source: https://www.fromhousetohome.com/diy-bonus-room-bookshelves/
0 Response to "Easy Diy Book Storage and Window Seat"
Post a Comment